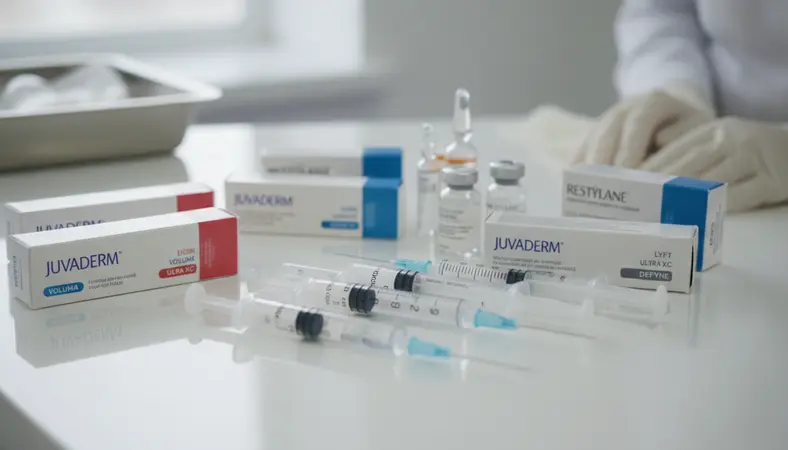
Dermal filler injections are among the safest cosmetic procedures performed today, with serious complication rates estimated at well below 1%. However, complications do occur, and every practitioner who injects fillers must be prepared to recognize and manage them promptly. The difference between a minor complication and a devastating outcome often comes down to the practitioner's knowledge, preparedness, and speed of response. This article covers the most important filler complications, their prevention strategies, and evidence-based treatment protocols.
Vascular Occlusion: Recognition and Emergency Response
Vascular occlusion is the most feared complication in dermal filler injection. It occurs when filler material is inadvertently injected into or compresses a blood vessel, obstructing blood flow and potentially causing tissue necrosis or, in the most severe cases, vision loss. While rare (estimated incidence of 1 in 6,410 to 1 in 40,882 injections depending on the study), vascular occlusion requires immediate recognition and treatment to prevent permanent damage.
Signs and Symptoms
Recognizing vascular occlusion early is critical. The classic presentation includes:
- Immediate blanching: The skin turns white (pallor) in the vascular territory downstream from the occlusion. This is the most immediate and reliable early sign.
- Pain disproportionate to the procedure: The patient reports intense, sharp, or burning pain that is significantly more severe than expected from the injection itself.
- Livedo reticularis pattern: A mottled, net-like discoloration pattern that develops as blood flow is compromised in the capillary bed.
- Dusky or violaceous discoloration: As ischemia progresses, the initially blanched area may become dusky blue or purple.
- Slow or absent capillary refill: When the affected area is pressed and released, normal pink color does not return within two seconds.
- Visual changes: If the ophthalmic artery or its branches are affected, the patient may report sudden vision loss, visual field deficits, or ocular pain. This constitutes an ophthalmic emergency requiring immediate referral.
Emergency Treatment Protocol
When vascular occlusion is suspected, treatment must begin immediately. Every second of delay increases the risk of irreversible tissue damage. The following protocol should be memorized and practiced regularly by every filler injector:
- Stop injecting immediately. Do not inject any more filler.
- Inject hyaluronidase (for HA fillers). Inject 200-300 units of hyaluronidase directly into the affected area and surrounding tissue. Use multiple injection points across the ischemic zone. Repeat every 60-90 minutes until normal perfusion is restored. Do not underdose—overdosing hyaluronidase has no serious consequences, while underdosing can lead to tissue necrosis.
- Apply warm compresses. Heat promotes vasodilation and may help restore blood flow to ischemic tissue. Avoid ice, which causes vasoconstriction and worsens ischemia.
- Apply topical nitroglycerin paste (2%). Nitroglycerin is a potent vasodilator that can be applied directly to the affected area to promote vasodilation of collateral vessels.
- Massage the area. Gentle but firm massage may help displace the filler material and restore vascular flow.
- Administer aspirin 325mg orally (if not contraindicated) to reduce platelet aggregation.
- Document everything. Record the timeline of events, interventions performed, and the patient's response at each stage.
- If vision is affected, transfer immediately to an ophthalmologist or emergency department. Retinal artery occlusion may require intra-arterial hyaluronidase, anterior chamber paracentesis, or other specialized interventions within a narrow time window.
Hyaluronidase Protocols
Every practice that performs HA filler injections must have hyaluronidase immediately available—not in a supply closet down the hall, but in the treatment room, reconstituted and ready to inject. Time is tissue in vascular occlusion, and delays of even 15-30 minutes searching for or preparing hyaluronidase can mean the difference between full recovery and permanent scarring.
Hyaluronidase dosing varies by clinical scenario:
- Vascular occlusion (emergency): 200-300 units or more, injected widely across the ischemic area and surrounding tissue. Repeat every 60-90 minutes as needed. There is no maximum dose in an emergency—dissolving the filler to save the tissue takes absolute priority.
- Nodule or granuloma dissolution: 30-150 units injected directly into the filler deposit. May require 2-3 treatment sessions spaced one to two weeks apart.
- Elective revision (overcorrection): 10-75 units per treatment area, titrated carefully to avoid over-dissolution. Conservative initial dosing is recommended, with reassessment at 24-48 hours before repeat treatment.
- Tyndall effect correction: 5-30 units per affected area, injected superficially into the visible filler.
It is important to note that hyaluronidase dissolves all hyaluronic acid it contacts, including the patient's native HA in the tissue. The body regenerates its natural HA within 24-48 hours, so temporary soft tissue deflation at the treatment site is expected and normalizes quickly.
Nodule Management
Nodules are palpable or visible lumps that develop after filler injection. They can be classified into several categories, each requiring a different management approach:
Early inflammatory nodules (days 1-14): Mild swelling and firmness at injection sites is normal during the first two weeks. These typically resolve spontaneously and can be managed with gentle massage, cold compresses, and patient reassurance. True inflammatory nodules that persist beyond two weeks or are accompanied by redness and tenderness may indicate infection and warrant antibiotic therapy.
Product-related nodules: These result from uneven filler distribution, superficial placement, or migration of the filler from its intended position. For HA fillers, these can be treated with hyaluronidase injection directly into the nodule. For non-HA fillers (Radiesse, Sculptra), management options are more limited and may include intralesional corticosteroid injection, massage, or in refractory cases, surgical excision.
Granulomas: Foreign body granulomas are delayed inflammatory nodules that can appear weeks to months after injection. They represent an immune-mediated reaction to the filler material and typically present as firm, well-circumscribed nodules that may be tender. Treatment typically involves intralesional corticosteroids (triamcinolone 10-40 mg/mL), 5-fluorouracil, or hyaluronidase for HA fillers.
Tyndall Effect
The Tyndall effect is a visible bluish discoloration that occurs when HA filler is placed too superficially in the skin. Light scatters as it passes through the transparent gel, creating a blue or blue-gray hue that is most noticeable in thin-skinned areas such as the tear troughs, lips, and perioral region.
Prevention is the best approach: always place filler at the appropriate depth for the treatment area, use products specifically designed for superficial injection in thin-skinned areas, and inject conservatively in areas prone to the Tyndall effect. When it does occur, small doses of hyaluronidase (5-30 units) injected directly into the superficial filler deposit typically resolve the discoloration within 24-48 hours.
Biofilm Infections
Biofilm is a community of bacteria that forms a protective matrix on the surface of implanted materials, including dermal fillers. Biofilm-related infections are particularly challenging because the bacteria within the biofilm are protected from antibiotics and the immune system, leading to chronic, low-grade infections that can persist for months or years.
Clinical signs of biofilm include delayed-onset (weeks to months post-injection) redness, swelling, and tenderness at the filler site; recurrent infections that respond temporarily to antibiotics but return after the course is completed; and firm, inflammatory nodules that do not respond to standard anti-inflammatory treatments.
Treatment of suspected biofilm requires a multimodal approach: extended-course antibiotics (typically a macrolide combined with a fluoroquinolone for four to six weeks), hyaluronidase injection to dissolve the HA scaffold that supports the biofilm (for HA fillers), and in refractory cases, intralesional 5-fluorouracil or surgical excision. Prevention focuses on strict aseptic technique during injection, avoiding injection through or near active skin infections, and considering antibiotic prophylaxis in patients with a history of recurrent infections.
Delayed-Onset Reactions
Delayed-onset reactions are inflammatory responses that occur weeks, months, or even years after filler injection. These reactions can be triggered by systemic illness, dental procedures, vaccinations, or infections at distant body sites that activate the immune system and provoke an inflammatory response at the filler site.
The clinical presentation typically includes sudden onset of swelling, redness, and tenderness at previous filler injection sites. These reactions gained particular attention during the COVID-19 pandemic, when patients with existing HA filler reported inflammatory reactions following COVID-19 vaccination. While alarming, these reactions are generally self-limited and respond well to short courses of oral corticosteroids, antihistamines, and nonsteroidal anti-inflammatory drugs. Hyaluronidase may be used for persistent or severe reactions.
Emergency Preparedness
Every practice that performs dermal filler injections should maintain an emergency kit that is immediately accessible in the treatment room. The recommended contents include:
- Hyaluronidase (at least 600 units reconstituted and ready, with additional vials available)
- Nitroglycerin paste 2%
- Aspirin 325mg tablets
- Warm compresses
- Retrobulbar injection supplies (for practices performing periocular treatments)
- Emergency contact information for the nearest ophthalmologist and vascular surgeon
- Written emergency protocol posted in the treatment room
Regular emergency drills—similar to code simulations in hospital settings—are highly recommended to ensure that all staff members know their roles and can execute the emergency protocol efficiently under pressure.
Comprehensive complication management training is a core component of our Advanced Botox & Filler Training and Cadaver Lab Injection Anatomy courses. Understanding vascular anatomy, danger zones, and emergency protocols is not optional—it is a fundamental professional responsibility for every filler injector.